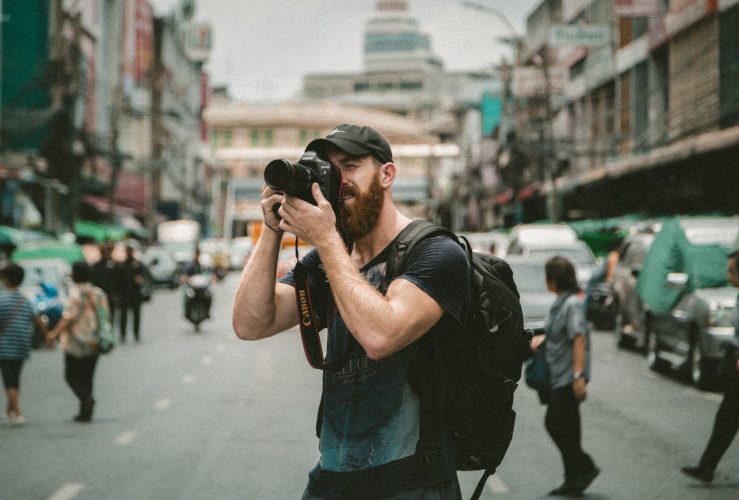
Your Guide to Taking Better Photos for Your Travel Brand
Travel brands have it pretty easy when it comes to generating content. Travel is visual. It sparks curiosity. Few can resist the allure of beautiful destinations. And since most travel advisors spend a portion of their year traveling themselves, it should be easy to create your own content, right? It can be! But if you struggle to capture good photos and videos, you might struggle to generate the attention-grabbing marketing you are looking for. So where do you start?
1. Learn basic photography skills
With so many social media entrepreneurs out there, there are endless resources out there to help you improve your photography skills. I mean… endless! Start with reading a few blog posts on how to stage a photo and how to use your camera correctly.
- Tricks for Taking Better Smartphone Photos
- How to Take Better Travel Photos
- Know Your Camera: A Beginner’s Photography Tutorial
When you’ve mastered what you can find online for free, consider taking a few courses if you really want to kick it up a notch!
2. Invest in the right equipment
There are lots of tools out there that can help you with your photography. But first, you have to decide if you’re going to keep it basic and use your smartphone, or go all out with a dedicated camera. There’s no right answer, it just depends on what you want for your brand.
If you are sticking with a smartphone a few photography apps are worthwhile. A small, portable stabilizer or tripod will also do you wonders!
For a more professional camera, check out the many options for tripods and lenses that work well for your camera.
3. Plan your photography
When preparing for a FAM trip or a personal getaway, you probably spend a lot of time planning your itinerary and packing list. Have you ever considered planning out your photography? This is a great way to save time while on the go. Knowing what shots you want in advance can also help you avoid feeling like you’ve missed the real life experience because you’re hiding behind a lens. This way, you’re not spending your trip looking for good shots, but taking the ones you need and getting them over with! As you plan, put focus into colors and scenes that work well with your brand. Do you love to incorporate lots of blue? Don’t miss those ocean blues! Do you want to feature pops of pink and yellow on your website and social feeds? Look for the colors you need in local art, buildings, doors, flowers, and food! Soon your eyes will be accustomed to looking for those things and you’ll find yourself capturing them with very little effort.
4. Organize and back up
Now you’ve done all the work to improve your photography, invested in equipment, and gotten your perfect shots. These next two steps cannot be missed! Create an organizing system on your computer so you can grab exactly what you need when you need it. You can sort your photos by categories such as location, or by what is actually in the photo. And, I cannot emphasize this enough… back your photos up!
5. Use your photos
Here’s the part where all your hard work pays off! Use your photos! Pick some of the best ones for your website. Then create a consistent posting schedule for your social platforms to get your messages out. Use your photos to share insider information on destinations, travel tips, vacation packages and deals, promos, marketing your brand – whatever you need!


